Watched a guy ruin about $400 worth of acrylic in maybe fifteen minutes once. Shop in Dallas, few years back. He was trying to cut display panels on a router that wasn’t set up right for the material. Kept melting the edges. Kept chipping corners. Kept making that horrible smell of burning plastic.
His boss—woman named Angela who’d been running that shop for twenty years—finally walked over and shut off the machine. “You’re fighting the material,” she said. “Acrylic tells you when you’re doing it wrong. You’re just not listening.”
That stuck with me. Acrylic is unforgiving. It’s beautiful when you work with it correctly—crystal clear, lightweight, surprisingly strong, takes almost any shape you can imagine. But get the speeds wrong, use the wrong tooling, generate too much heat? It lets you know immediately. Melted edges that need hours of finishing. Foggy surfaces that ruin optical clarity. Cracks that spider through the material and show up weeks later. Expensive mistakes that can’t be fixed.
CNC machining solves most of these problems by taking human variability out of the equation. Digital precision. Optimized cutting parameters. Consistent results whether you’re making one piece or five hundred. Here’s how it actually works and why it’s become the standard for serious acrylic fabrication across pretty much every industry that uses the material.
Quick Reference: CNC Acrylic Cutting
| Feature | Details |
| Part Lifespan | 5–20+ years depending on UV exposure and usage environment |
| Cost Range | $75–$200+ per project based on thickness, complexity, quantity |
| Thickness Range | 1/16″ to 1″ acrylic sheets standard; thicker possible with specialized tooling |
| Typical Tolerance | ±0.005″ achievable on most designs |
| Edge Quality | Clean, polished edges with proper tooling—often no finishing needed |
The Problem With Acrylic (And Why Most People Get It Wrong)
Walk through any mall and you’ll see acrylic everywhere. Display cases. Signage. Point-of-sale stands. Medical equipment covers. Electronics housings. Museum cases protecting things worth more than my house. The material is genuinely everywhere because it works—clear as glass, way harder to break, easy to shape, looks premium.
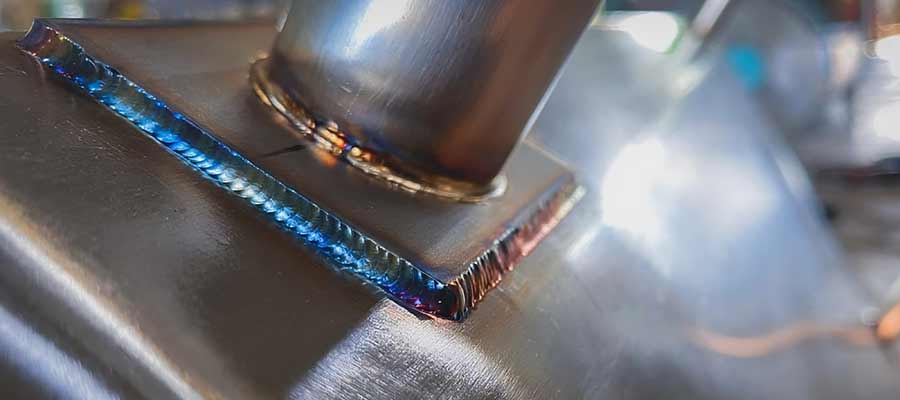
Here’s the thing though. Acrylic hates heat. Absolutely hates it. The melting point is lower than most people expect—much lower than metals, obviously, but lower than a lot of other plastics too. Push a cutting tool wrong and the material starts softening almost immediately. Softened acrylic gums up your tooling. Welds itself back together behind the cut. Leaves edges that look like someone attacked them with a heat gun. Ask me how I know.
And it chips. And it cracks. Micro-fractures that don’t show up until weeks later when the customer calls angry. Stress cracks radiating from corners that weren’t cut right. Problems you can’t see until it’s too late to do anything about them. That’s the worst part—the delayed failures. Part looks perfect when it ships. Three weeks later, spider cracks.
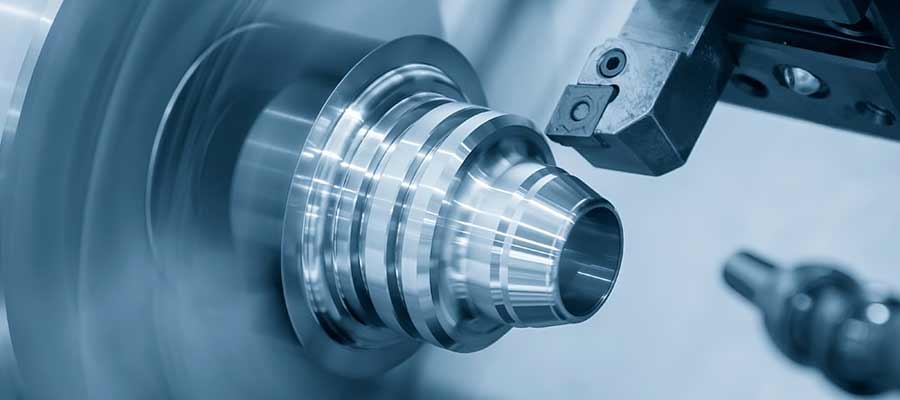
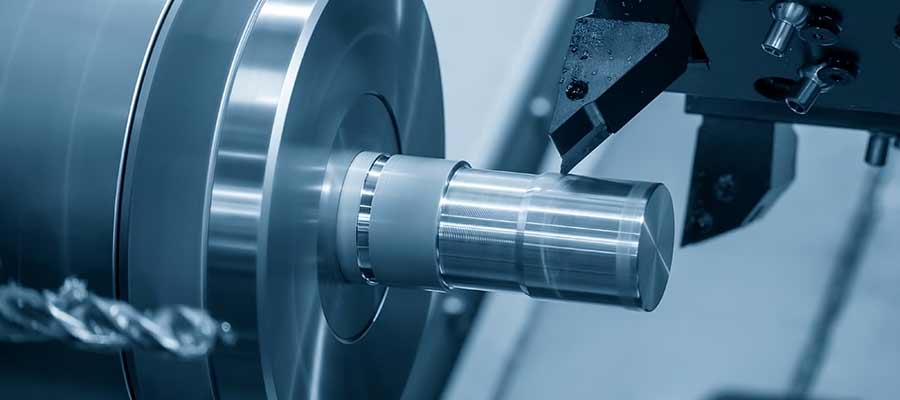
CNC machining fixes most of this by controlling everything precisely. Spindle speed. Feed rate. Depth of cut. Toolpath strategy. The machine doesn’t improvise. Doesn’t get tired. Doesn’t take shortcuts because it’s 4:30 on a Friday and everyone wants to go home. Just runs the program exactly as written.
How It Actually Works (The Short Version)
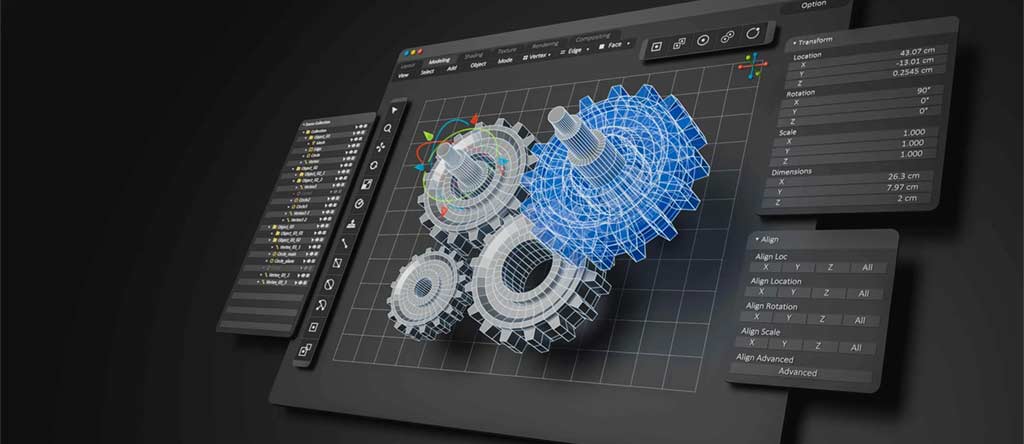
Starts Digital
Everything gets drawn in CAD first. Dimensions. Tolerances. Every curve and hole and pocket. All of it mapped out digitally before anyone touches material.
Then CAM software converts that into G-code—basically instructions the machine can follow. Where to move. How fast. What tool to use. The software optimizes the cutting path so the material stays happy and edges come out clean.
A programmer I know named Kevin—guy does a ton of acrylic work—told me something that stuck: “Cutting is easy. Programming is hard.” He spends more time in CAM than most people would guess. Says bad programming makes bad parts regardless of how nice your equipment is. Can’t argue with that. Garbage in, garbage out.
The Right Tools (Not Optional)
You cannot use regular end mills on acrylic. Well, you can. Once. Then you’ll understand why you shouldn’t. Learned that lesson watching someone else pay for it.
What actually works:
- Single-flute bits – Chips clear fast. Less friction. Less heat. The workhorse for acrylic.
- O-flute bits – Fancy geometry for really smooth edges. Worth it when appearance matters.
- Polished carbide – Mirror-finish cutting edges. Prevents clouding on clear material.
Standard metal-cutting end mills? Wrong flute geometry entirely. Heat builds up because chips don’t clear the way they should. Material welds to the tool. Total mess that ruins both the part and often the cutter. I’ve watched shops make this exact mistake repeatedly before finally investing in proper tooling. Expensive lesson every time.
Speed and Feed: The Balancing Act
Three things determine whether acrylic comes out clean or ruined. Get them right and parts look great. Get them wrong and you’re scraping melted plastic off expensive tooling.
Spindle speed—high enough for clean cuts, not so high you generate excessive heat. There’s a sweet spot that changes with material thickness. Feed rate—too slow and the tool rubs instead of cutting, too fast and you’re chipping. Cut depth—shallow passes, always. Multiple light passes beat one aggressive pass. Every single time. No exceptions.
Mess up any of these and you’ll know fast. Acrylic doesn’t let you pretend everything’s fine when it isn’t.
Heat Management
Heat kills acrylic jobs. Every shop that does this well has figured out cooling strategies that work:
- Air blasts at the cutting zone—carries heat away, clears chips before they can reweld to the cut edge
- Vacuum extraction—sucks chips out of the path instantly so nothing builds up
- Polished tool geometry—less friction at the source means less heat generated in the first place
Get the heat right and you get glossy edges straight off the machine. No flame polishing. No sanding. No finishing labor at all. That’s what you’re aiming for. It’s achievable with the right setup.
Why Shops Are Switching to CNC for Acrylic
Talked to a display fabricator in Chicago last year. Guy named Marcus. Been building retail fixtures maybe fifteen years. His shop used to run mostly laser for acrylic work. Switched to CNC routing about five years back.
“Should have done it years earlier,” he said. Wasn’t even a close call according to him.
Why the change? Few things that added up over time:
- Part-to-part consistency – First piece looks like the five-hundredth piece. Even months later on reorders. Customers get identical results every time. That builds trust and repeat business.
- Edge quality – Good CNC setup means zero finishing work. No flame polishing. No sanding. No hand labor at all. Parts go straight from machine to shipping. That saves hours on every job.
- Geometry options – Pockets, internal cutouts, engraving, complex curves, tapered edges. Stuff laser either struggles with badly or simply can’t touch.
- Less waste – Nesting software packs parts tight. Smaller gaps between cuts. More product per sheet. Lower material cost per job.
Marcus told me his scrap rate dropped about 30% after the switch. When you’re buying acrylic by the pallet every month, that’s serious money. Paid for the equipment upgrade surprisingly quick.
CNC vs. Other Cutting Methods for Acrylic
Different tools work better for different situations. Here’s how CNC stacks up against the alternatives—and when you might actually prefer something else:
| Method | Best For | Advantages | Limitations |
| CNC Machining | Precision parts, displays, repeat production | Clean edges, tight tolerance, complex designs | Slower than laser for simple large cuts |
| Laser Cutting | Signs, letters, thin acrylic | Fast, flame-polished edges | Heat zones cause micro-cracks on thick material |
| Waterjet | Thick material, mixed materials | No heat, versatile | Not ideal for detailed small acrylic parts |
| Manual Cutting | Small hobby projects | Low tool cost | Rough edges, inconsistent results |
For commercial acrylic—anything needing precision, repeatability, or complex geometry—CNC is the standard now. Laser still has its place for simple cutouts and signage work. Waterjet for specialty applications. But quality work where consistency matters? CNC routing is what serious fabricators reach for.
What Makes Acrylic Jobs Cost More (Or Less)
No real surprises here if you’ve worked with any CNC shop before. Same basic factors that drive cost on any machining work:
- Thickness – Thicker sheets cut slower. More machine time on each piece. Higher cost per part. Simple math.
- Complexity – Intricate designs need more programming time upfront. Might need tool changes mid-job. Rectangles are always cheaper than organic curves with internal cutouts and engraved text.
- Edge requirements – Want polished edges? Might mean extra finishing passes or post-processing steps. Labor adds up even when the machine time doesn’t.
- Quantity – Setup costs spread across more parts at higher volumes. Fifty pieces costs meaningfully less per piece than five. Economics of scale work the same here as anywhere.
- Tooling – Proper acrylic bits cost more than standard end mills. That tooling expense gets baked into quotes one way or another.
More work, more time, more specialty requirements—higher price. Good shops are transparent about what’s driving their numbers. Ask questions if the quote seems off.
How a Typical Acrylic Job Runs
Pretty consistent workflow across shops that do this well. Nothing fancy, just disciplined execution:
- CAD modeling – Draw everything first. Dimensions. Tolerances. Features. All digital before any material gets touched.
- CAM programming – Generate toolpaths. Pick speeds and feeds. Nest parts for material efficiency. This is where bad jobs get set up or good jobs get planned.
- Material prep – Secure sheets properly. Pull protective film where needed. Check thickness against spec—surprising how often sheets aren’t quite what the label says.
- CNC cutting – Roughing passes. Finishing passes. Edge work. Machine does its thing while you watch for problems.
- Inspection – Check dimensions against drawings. Verify surface quality. Confirm parts meet requirements before shipping.
- Finishing – Deburr if needed. Clean. Package and ship or move to assembly.
Point of the process is catching problems when they’re cheap to fix. Changing a CAD dimension costs nothing. Scrapping a machined part costs material and time. Discipline matters here.
What’s Pushing Acrylic CNC Demand
Few things I keep hearing from shops and their customers over the past couple years:
- Retail getting fancier – Branded displays. Custom fixtures. Point-of-sale that actually looks good instead of cheap. All of it driving acrylic volume up year over year.
- Medical applications growing – Clean, sterile, optically clear parts. Tight tolerances for precision assemblies. CNC delivers what these regulated industries need and laser often can’t.
- Electronics customization – Small-batch enclosures. Protective covers. Display windows for consumer products. Customers expecting better aesthetics pushing shops toward higher-quality processes.
- Software improvements – CAM tools getting smarter every year. Toolpath optimization getting better. Programming time dropping while quality improves.
Trend is toward tighter tolerances, cleaner looks, faster turnaround. CNC acrylic cutting hits all three requirements. Expect the segment to keep growing as expectations keep rising.
FAQs
1. How accurate is CNC acrylic cutting?
±0.005″ on most machines, sometimes tighter depending on setup and material thickness. Plenty accurate for commercial work including displays, medical components, precision assemblies.
2. What thickness can CNC handle?
Standard setups run 1/16″ to 1″ all day long. Thicker is doable with the right tooling and adjusted parameters. Most commercial jobs fall in the standard range anyway so it’s rarely an issue.
3. Does CNC cutting crack acrylic?
Not if you’re doing it right. Correct tooling, correct speeds, good chip evacuation—no cracking. Problems almost always trace back to setup mistakes rather than the process itself.
4. CNC or laser for acrylic?
Laser is faster for simple shapes in thin material. Gives you flame-polished edges automatically which some customers prefer. CNC wins for detailed cuts, pockets, thick stock, anything needing tight tolerances. Lots of shops run both and pick the right tool for each job. No reason to limit yourself.
5. Do CNC parts need polishing?
Usually not. Right tooling and parameters give you smooth, clear edges straight off the machine. Some applications want flame polishing for extra optical clarity on really premium stuff. Most commercial work ships as-cut without any finishing.
6. Is CNC more expensive than laser?
Per machine hour? Generally yes. Total job cost? Depends entirely on the job. CNC handles complex features better, eliminates finishing labor, works on thick material laser can’t touch. For detailed work with any complexity, often comes out cheaper when you factor in all the labor you’re not paying for.
Why Styner for Acrylic Work
Styner Machine Tools knows acrylic. Not just owns the machines—actually understands the material and its quirks. Which tooling works on which thicknesses. What parameters deliver clean edges without the melting problems that plague less experienced shops. How to avoid the delayed failures that cost customers money and trust.
Retail displays. Protective housings. Medical components. Electronics enclosures. Precision assemblies. We’ve cut all of it in acrylic—everything from one-off prototypes to production runs of hundreds of identical pieces. Consistency customers can actually count on.
Clean edges. Tight tolerances. Parts that look as good as they work. That’s not marketing language—that’s the actual standard we hold ourselves to on every job.
American manufacturing. Actual expertise. Acrylic work done right.
Contact Styner Machine Tools at CNCFAB.SHOP to talk about your project.